Installation
To solve the exercises you need to install Python, the Brian2 simulator and the neurodynex3 package. The tutorial below will explain two different ways of installing everything:
- using the pip package manager (Linux, macOS)
- using the conda package manager, if you have Anaconda installed (Linux, macOS, Windows).
In both cases, we will use the package manager to create a virtual environment called bmnn and install everything there.
Using pip
We will start by creating a virtual environemt that contains a separate Python installation. To do this, we first need the
virtualenvpackage. Install this by running:>> pip install virtualenv
Now create the virtual environment in a folder called
bmnn:>> virtualenv bmnn
Activate the virtual environment:
>> source bmnn/bin/activateNow install
neurodynex3and all its requirements:>> pip install --upgrade neurodynex3
You can now use Python in this environment as you normally would. Move to the folder where you want your code to be stored and start a Jupyter notebook by running:
>> cd your_folder
>> jupyter notebook
Finally, when you are done using the virtual environment, you can deactivate it:
>> deactivate
Note
If something goes wrong inside the virtual environment, you can simply delete it by removing its folder (with the regular rm -r command) and start over:
>> deactivate
>> rm -r bmnn
Using conda
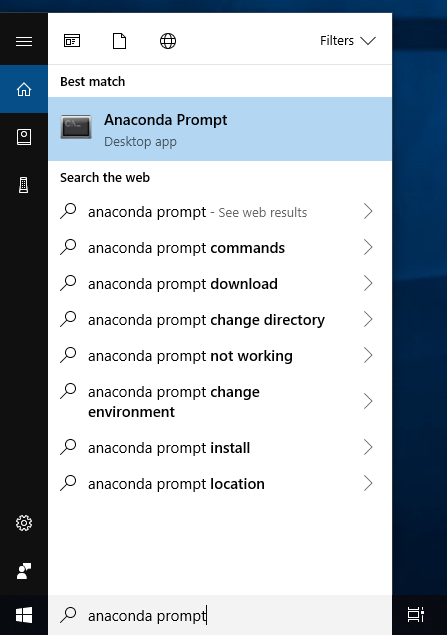
Anaconda is a Python distribution that can be installed on Linux, macOS, and Windows. It comes together with a package manager called conda. To run conda commands if you are using Windows, first start the Anaconda Prompt.
If you are using Linux or macOS, you can run conda commands in a regular terminal.
We start by creating a virtual environemt that contains a separate Python installation. The virtual environment is called
bmnn:>> conda create --name bmnn python
Activate the virtual environment:
>> conda activate bmnn
Now install required Python packages:
>> conda install numpy scipy jupyter matplotlib mpmath setuptools setuptools_scm mock nose
Install
Brian2:>> conda install -c conda-forge brian2
We will now install
neurodynex3. Note: this step is done usingpip, notconda. First make sure that you are usingpipinside the virtual environment:>> pip --version pip 20.0.2 from //anaconda3/envs/bmnn/.../pip (python 3.8)
Now run the install command:
>> pip install neurodynex3
You can now use Python in this environment as you normally would. Move to the folder where you want your code to be stored and start a Jupyter notebook by running:
>> cd your_folder
>> jupyter notebook
Finally, when you are done using the virtual environment, you can deactivate it:
>> conda deactivate
Note
If something goes wrong inside the virtual environment, you can simply delete it and start over:
>> conda deactivate
>> conda remove --name bmnn --all
More information can be found in the conda documentation.
Start a Jupyter notebook
First, activate the virtual environment. If you use
pip, activate the virtual environment with>> source bmnn/bin/activateIf you use
conda, activate the virtual environment with:>> conda activate bmnn
Note
Always make sure you use programs that are inside the virtual environment. To see that you are using the
jupyterthat is inside thebmnnvirtual environment on Linux/macOS, you can use thewhichcommand>> which jupyter .../bmnn/bin/jupyter
and on Windows you can use the
wherecommand> where jupyter C:\...\Anaconda3\envs\bmnn\jupyter.exe
Move to the folder where you want your code to be stored and start a Jupyter notebook:
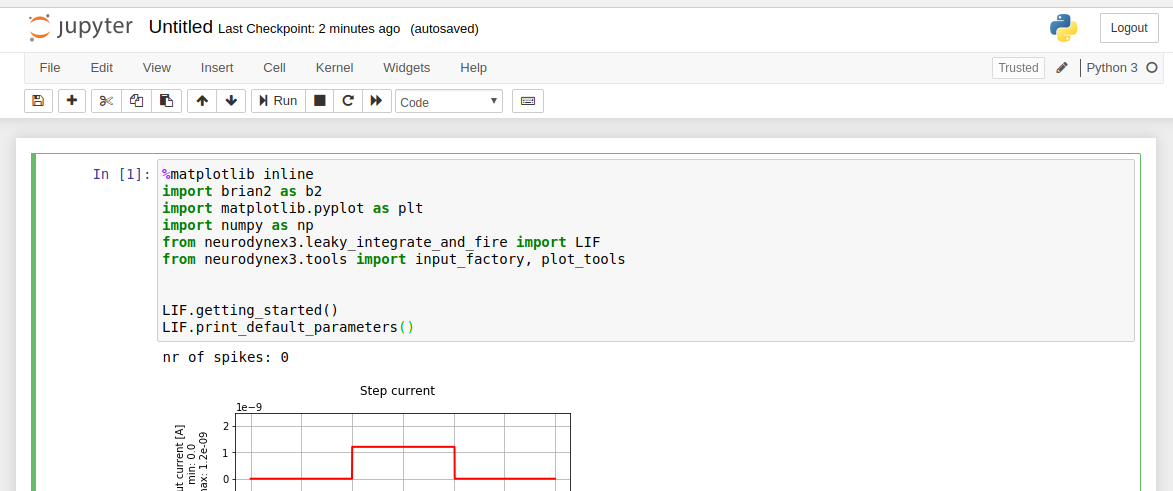
>> cd your_folder
>> jupyter notebook
Starting Jupyter will open your browser. Select
New,Python3to get a new notebook page. Depending on what else you have installed on your computer, you may have to specify the kernel.
Once you have created a new notebook, copy-paste the code of the exercise into the notebook and run it. Note that the first time you do this, the execution may take a little longer and, in some cases, you may see compilation warnings.
We recommend you to create one notebook per exercise.
Links
Here are some useful links to get started with Python and Brian: